Cold Weather and Clear Varnish Mishap
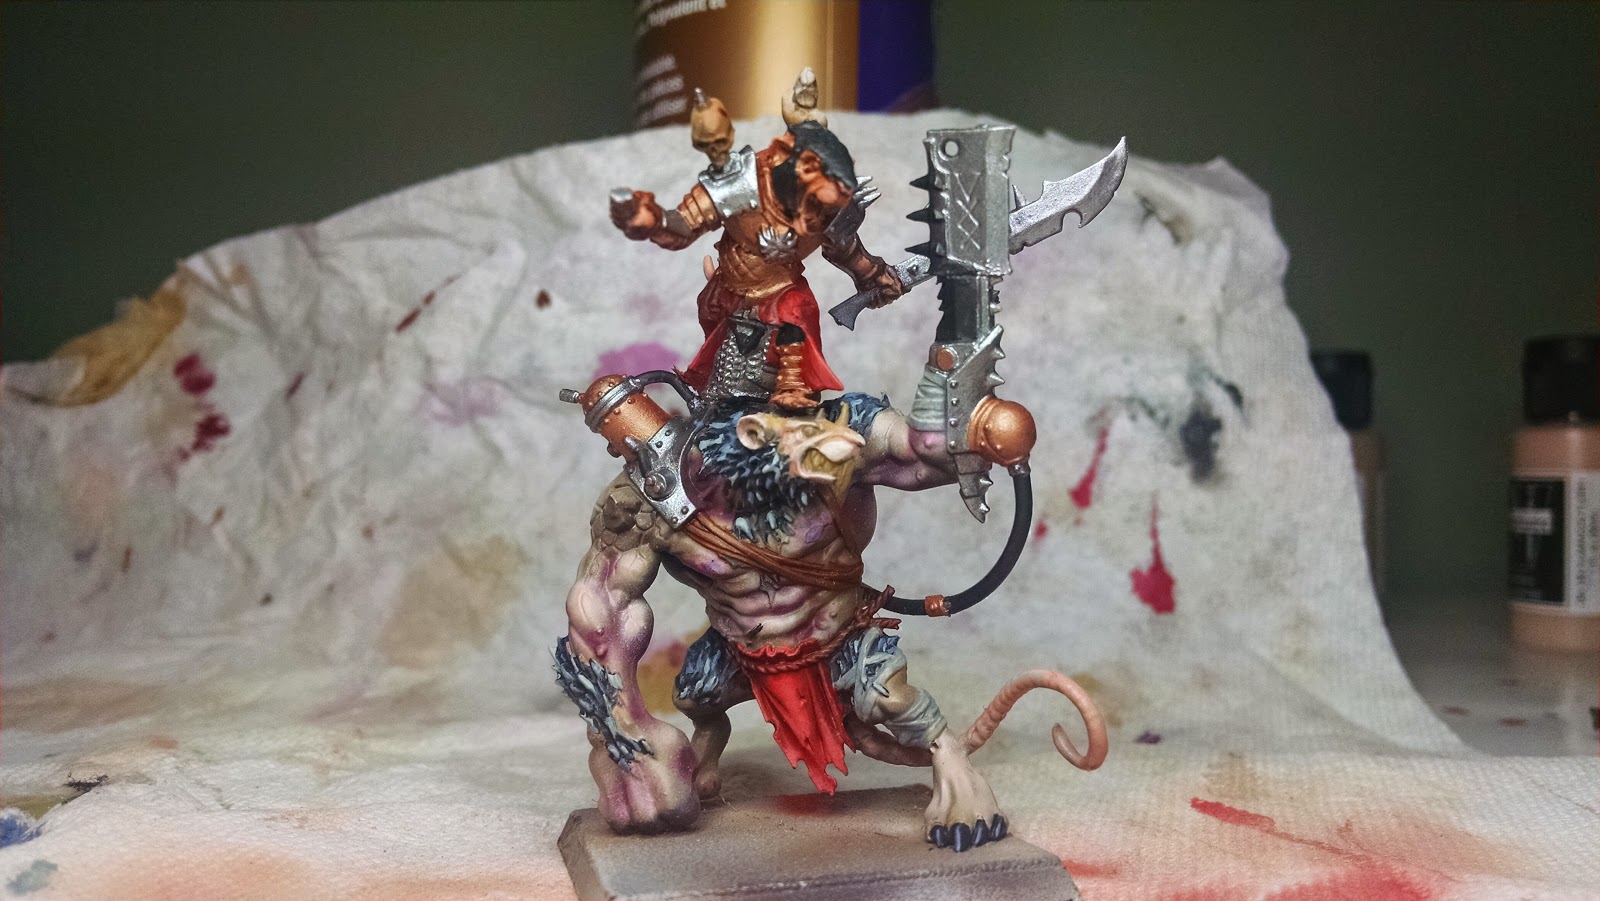
For our metals we used a Vallejo 'Brass' and 'Gun Metal'. The Ogre's face was painted with our usual Elf Skin and this time highlighted with 'Pale Flesh', just to brighten the area. I want the center of the model to be the focal point, and it just so happens our big guy's smiling mug is right square in the middle.
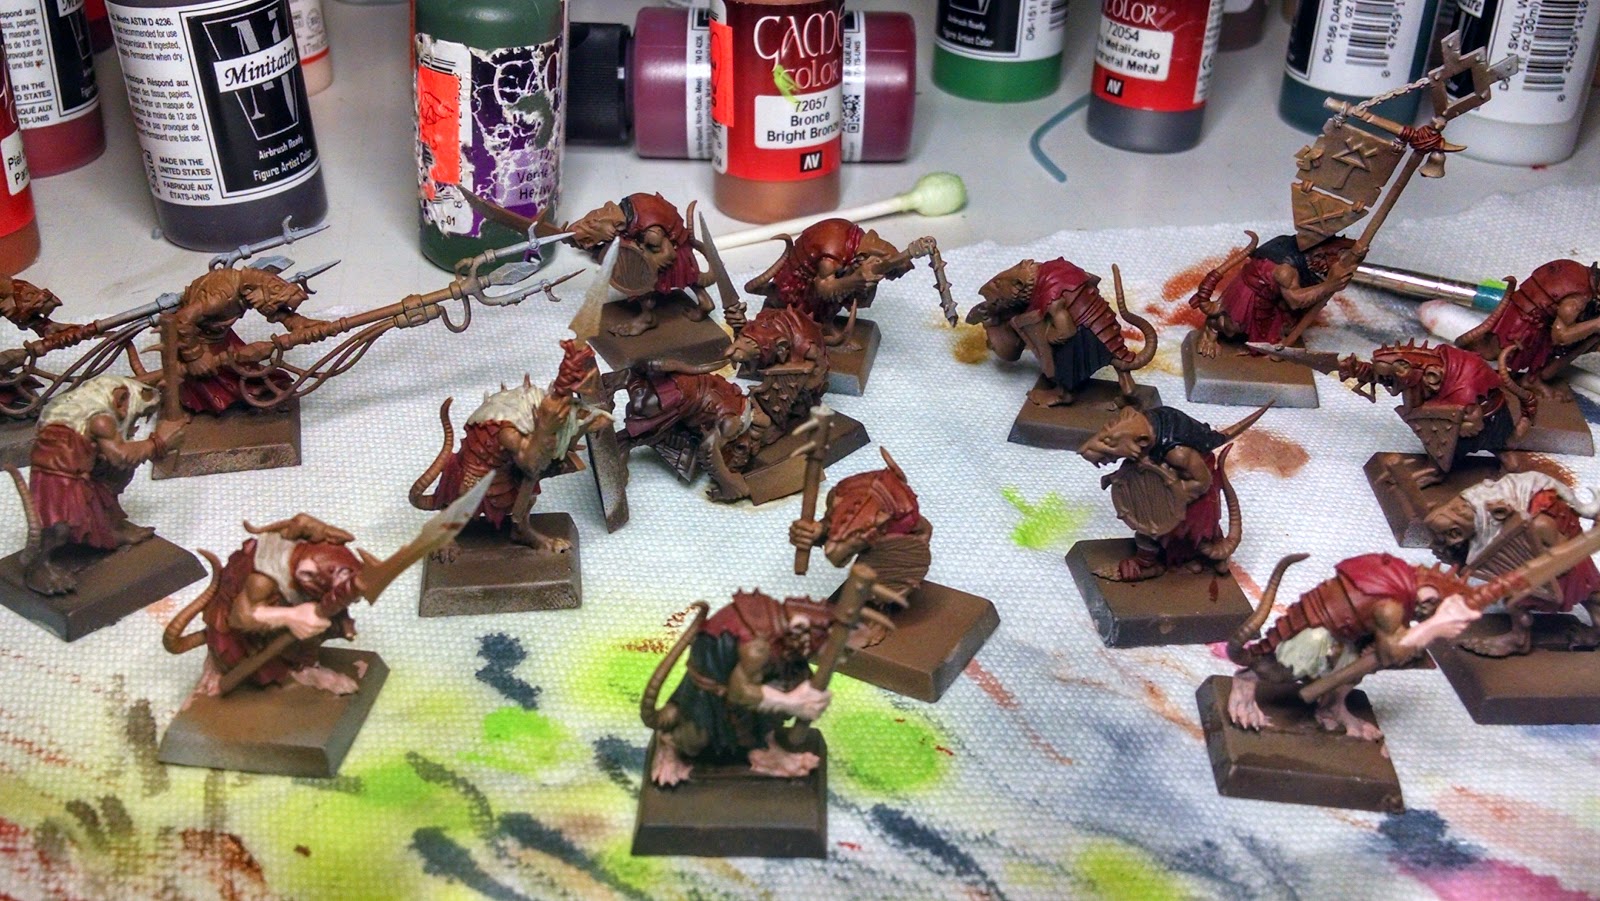
Basic Black was used to base the hoses attached to the weapon arm and metal tank. We use our Shadow Gray and Wolf Gray combo to highlight the rat fur, and we add a little 'Menoth White Highlight', from P3, to our Wolf Gray, just to lighten the ends of the hairs.

Now comes the point where things go horribly wrong. I live in Washington State, the land of rain and Starbucks Coffee. Needless to say the humidity and temperature are a factor for my painting, but if I waited for nice weather to paint, I just would never get anything done. I know the risks involved when using clear satin varnish when the air temp is crisp, but I have been lucky so far and have not experienced any difficulty. I typically clear coat my models in my garage, which keeps a relatively even temp of around 58 degrees. This isn't ideal for painting, but it works in a pinch. (also keeps me from passing out face first into my paint try)
Long story long, I take our little guy out to the spray bench and BLAMO! Foggy milky paint shoots out of the can and onto the model. Worst part is I don't even notice it until I'm applying the 2nd coat, so I've ensured the fuzzy layer is now set in stone. Yippee!
I was tempted to just toss the model into my tub of Simple Green, strip the paint and start over, but then I thought, 'Hey, this is a rescue blog...rescue it!'
I began the tedious process of trying to paint over the affected areas (and believe me, there were many!), either by patching the area with a covering highlight, or just re-basing the areas where the paint was too thick and cloudy to hide.
Now then, here comes the point where I make another huge mistake. I applied a wash to the model and forgot I had touched up several areas. The result - over washing effect. Too much of the pigment was now sticking to the freshly painted areas and created a dull tinted effect. At this point I really considered reworking the whole model, but elected instead to keep trudging away.
Using a Q-tip and some water I began scrubbing away at the muddy areas, as best I could. I was not able to remove all the over wash, but got the model to a point I was able to re-apply some basic tones and finish our brush highlights. Here is what it looked like after that process.


Notice how most of our subtle blends of color and dynamic highlights have been muddied and covered by varnish cloud? There really is no way to bring them back without redoing all our work, so we're just going to have to live with it.
I applied some 'Skin Tone' Ink to the Warlord's head piece and highlighted it using 'Parasite Brown'. I then whipped out the airbrush to finish our weapon effects, added some of the green to the hoses, then painted the small dragon on the Warlord's shoulder. (This is actually the burning rat from the Warp Fire weapon team, but I thought it would look cool on our guy's shoulder instead)


Needless to say I'm less than pleased with how this is turning out, but we're almost done and have a ton more painting to do, so it's just going to have to suffice. Our last task is to complete the tether and bit, and then find a nice little headpiece for our Warlord.
Until next time,
Casey.

Comments
Post a Comment
Please be respectful and no abusive language.